

DryBarrier® Calculator
256
sq.ft.
78
tiles
10
packages
- Total Price: $569.90 CAD (before tax)
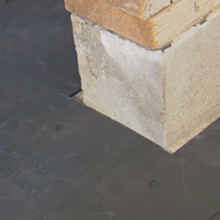
Preparation
- Correct any bumps, ridges or dips in concrete surface to ensure proper seating of tiles
- Sweep or vacuum the space to remove any dirt or debris
- Acclimatize DryBarrier tiles in the area of installation at a minimum temperature of 18°C/65°F for 24 hours
Installation Steps
![]() Skill Level: Beginner
Skill Level: Beginner
![]() Time: 3-5 hours*
Time: 3-5 hours*
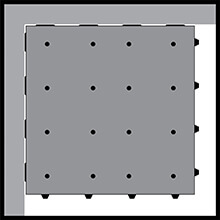
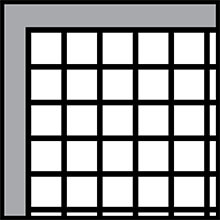
Start in the Room Corner
1
Start in a left corner; place the first tile down with the female spacer snaps against the two walls and the male snaps facing outwards.
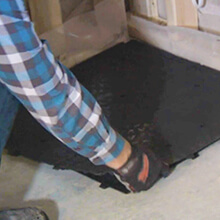
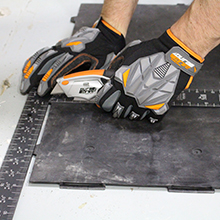
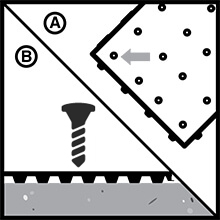
Simply Snap Together
2
Place the next tile down flat, then simply slide and snap together ensuring all snaps are properly engaged.

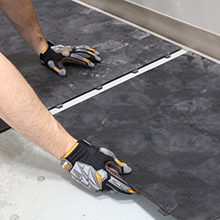
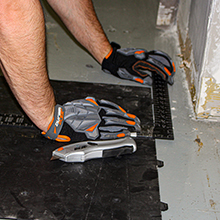
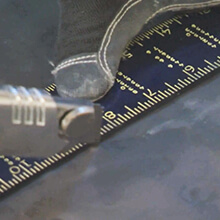
Easily Cut to Size
3
Install tiles in a stacked pattern. Cut the last tile in each row to size using either a utility knife, shears, or table-saw maintaining a minimum 1/8" space from the perimeter walls for airflow.
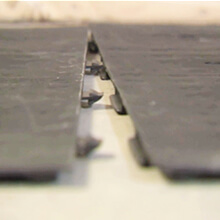
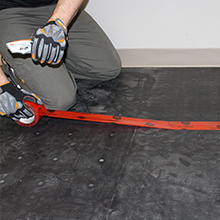
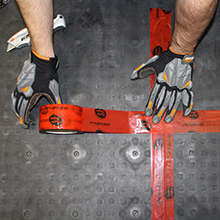
Create Vapor Barrier Seal
4
Place sheathing tape across all DryBarrier tile seams to provide a complete vapor barrier seal under your choice of floor cover.

Secure the Subfloor
1-1/4" concrete screws may be fastened in the designated counter pockets as desired to secure any bounce or to accommodate the selected finished floor.
Finished Flooring Installation
DryBarrier is a flexible floating subfloor system which will follow the contour of the concrete floor. If the concrete floor has dips greater than ¼”, we recommend applying a leveling compound prior to installing the subfloor. When fastening is required, use a 1-1/4” concrete screw with a flat head in the designated counter pockets on top of DryBarrier to effectively accommodate the screw maintaining a flush surface. The durable flat top surface of DryBarrier may be suitable to place finished flooring directly on top, providing protection and comfort; however it is important to follow the installation requirements as outlined by the flooring manufacture which may include specific underlayment’s and perimeter expansion space requirements. Always maintain a minimum of 1/8” around the room perimeter for airflow circulation and/ or to allow for optimized airflow below your flooring cut an opening approximately 3” x 10” every 8’ to 10’ along the room perimeter and then finish the openings with floor grilles.
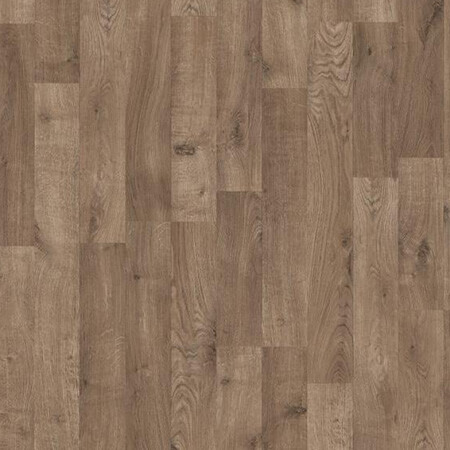
The durable flat top surface of DryBarrier will support any Laminate thickness including 7mm with no concerns. Before installing the Laminate ensure the DryBarrier subfloor does not exhibit any bounce throughout. If so, fasten a 1-1/4” concrete screw into a counter pocket closest to the area of bounce securing the DryBarrier subfloor to the concrete.
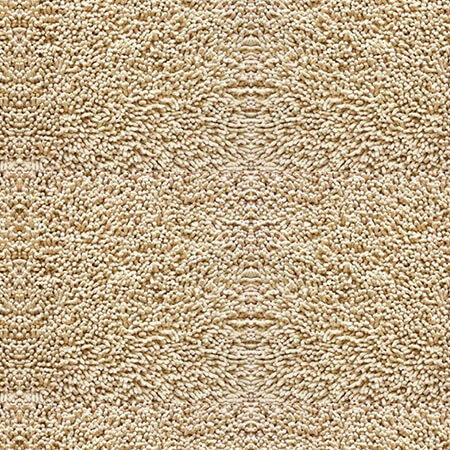
Install tack strips on top of DryBarrier around the room perimeter. To prevent the DryBarrier tiles from lifting up when stretching out the carpet, simply drive a 1 ¼” concrete nail through the tack strip, through the DryBarrier Subfloor and into the concrete, two nails per tile around the room perimeter. Carpet under-padding is recommended to be taped together or it can also be stapled down to the DryBarrier subfloor. If the bottom plates of the perimeter and interior walls are constructed on top of DryBarrier then simply tack into the DryBarrier as they would into a wood subfloor, there is no need to fasten the tack strips into the concrete.
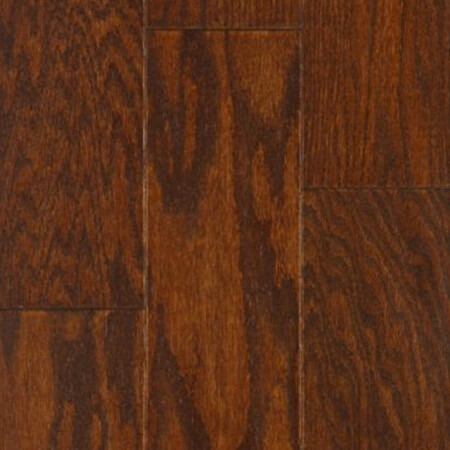
Depending on humidity levels hardwood may not be the appropriate flooring choice for your basement. Review the flooring manufacturer's guidelines for humidity level requirements. Ideally a Floating Engineered Hardwood system should be used on top of DryBarrier without a plywood underlayment minimizing height and cost. The plank pieces are clicked together if the flooring has a click lock system or glued to each other but not to the DryBarrier subfloor.
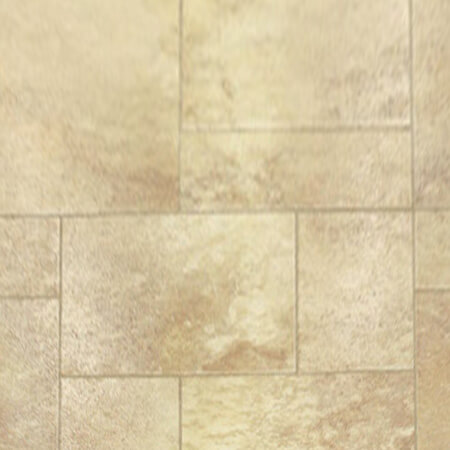
The durable top surface of DryBarrier will provide adequate support for vinyl flooring however vinyl has an ability to telegraph the substrate irregularities and ridgelines through the vinyl over time. The surface irregularities of a DryBarrier subfloor system are the small round counter pockets and seams. There are vinyl plank and tile flooring products known as engineered luxury vinyl that provide a rigid core (Typically 4-8mm thick) which prevents telegraphing and can accommodate minor irregularities.
Some vinyl products such as sheet, thinner planks and tile, and any glue down products require a specific underlayment such as 1/4” plywood. If 1/4” plywood underlayment is required use 1-1/4” concrete screws with a flat head to secure the plywood through the DryBarrier tiles into the concrete. Refer to the flooring manufactures guidelines for recommended underlayment and installation instructions.
Securely fasten 3/8” magnesium oxide board (which is fungi/ mould and water resistant) on top of the DryBarrier subfloor using 1-3/4” concrete screws with a flat head to prevent any movement or shifting below the finished floor which may cause grout and tile cracks. Install an approved thin-set mortar on top of the magnesium oxide board and follow the finished flooring manufactures installation guidelines.